
Wednesday, 19 August 2009
Normaler Maps
And because I am so proud; here is an animation showing the addition of different layers of detail to the shipping container to generate its final appearance.
Sunday, 16 August 2009
Normal Maps
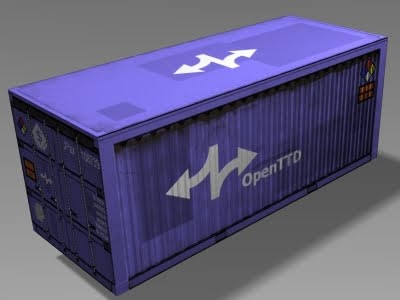
Normal mapping, and in fact all progress in 3D computer graphics, never ceases to amaze me... Using just 12 triangles you can achieve some truly amazing things; this is a shipping container initially modelled using about 10,000 triangles then simplified using normal mapping to a simple cuboid. Hopefully the guys over at the OpenTTD high resolution sprite project can find some use for it!
After modelling the container was textured with a variety of "layers" to give flexibility, in this case there is a base colour (which affects the whole model except the bare metal door locks/handles), a paint mess texture (to add some variation to the otherwise "flat" colour), an ambient light texture (to give quick approximate shading on the fine details), a dirt and rust texture (separate from the base colour so its influence can be adjusted separately) and a detail texture with logos, stickers, etc.
Even more detail was added using normal mapping from the rust and detail textures; this gives the slightly lumpy look to the rust and exaggerates the edges of the detail making the logos look as if they were actually stuck/painted on.
Watch a video (HD available) of it rotating here.
 These are low quality versions of the textures used for diffuse and normal mapping, the originals are all 1024x1024px except the detail texture which is 2048x2048px to preserve the sharp edges of the shapes.
The bump map from which the normal map was calculated:
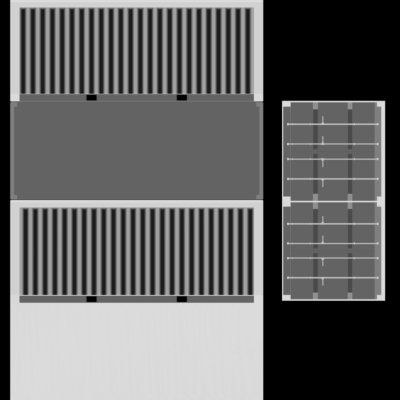 The ambient lighting/shadowing map:
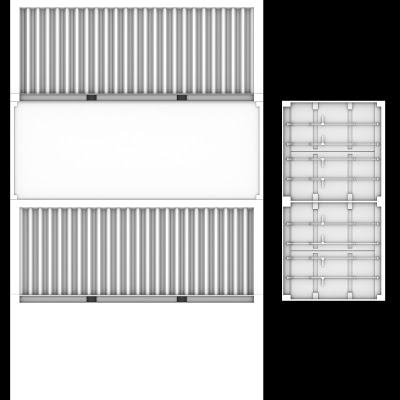 The mask used to show where needs to take the base colour of the container:
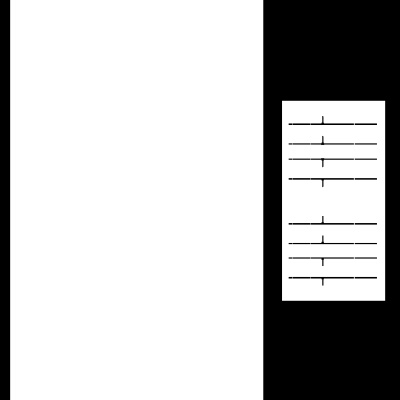 The messy paint detail, complete with patchy repairs and dribbles, this was mapped to darken the base colour of the crate:
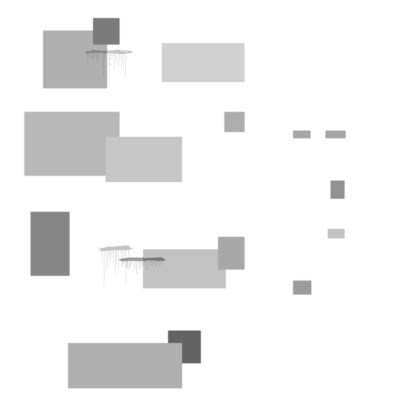 The rust image, this was mapped with the black areas as a dark rust grey and the white areas as transparent:
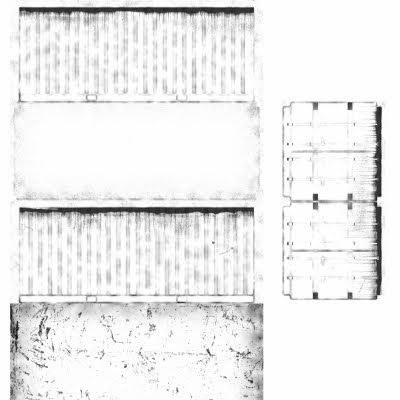 And finally the detail texture, this texture has an alpha channel so the underlying textures show through:
 Software used:
Blender - 3D modelling, texturing and rendering
Paint.net - Texture design
Creature House Expression - Design of the detail texture
The GIMP - More texture design!
VLC - Video transcoding
http://www.cgtextures.com/ - Paint smudge and rust stock texture images
After modelling the container was textured with a variety of "layers" to give flexibility, in this case there is a base colour (which affects the whole model except the bare metal door locks/handles), a paint mess texture (to add some variation to the otherwise "flat" colour), an ambient light texture (to give quick approximate shading on the fine details), a dirt and rust texture (separate from the base colour so its influence can be adjusted separately) and a detail texture with logos, stickers, etc.
Even more detail was added using normal mapping from the rust and detail textures; this gives the slightly lumpy look to the rust and exaggerates the edges of the detail making the logos look as if they were actually stuck/painted on.
Watch a video (HD available) of it rotating here.
These are low quality versions of the textures used for diffuse and normal mapping, the originals are all 1024x1024px except the detail texture which is 2048x2048px to preserve the sharp edges of the shapes.The bump map from which the normal map was calculated:
 The ambient lighting/shadowing map:
 The mask used to show where needs to take the base colour of the container:
 The messy paint detail, complete with patchy repairs and dribbles, this was mapped to darken the base colour of the crate:
 The rust image, this was mapped with the black areas as a dark rust grey and the white areas as transparent:
 And finally the detail texture, this texture has an alpha channel so the underlying textures show through:
 Software used:
Blender - 3D modelling, texturing and rendering
Paint.net - Texture design
Creature House Expression - Design of the detail texture
The GIMP - More texture design!
VLC - Video transcoding
http://www.cgtextures.com/ - Paint smudge and rust stock texture images
Thursday, 16 July 2009
A Little Less Random
And because I was bored... Using a random walk with weighted probabilities it can be used to generate an image in an "artistic" way; separate random walks were used for red, green and blue channels, along with white to enhance contrast and reduce colour change side effects. Watch the video here.
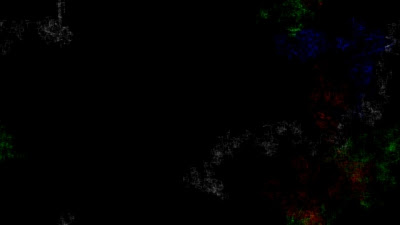
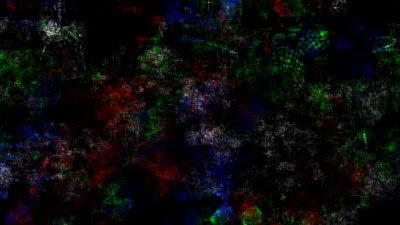
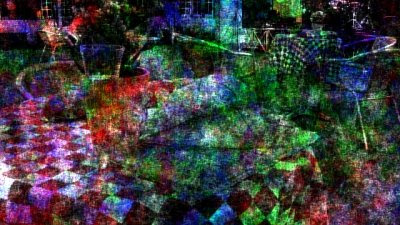
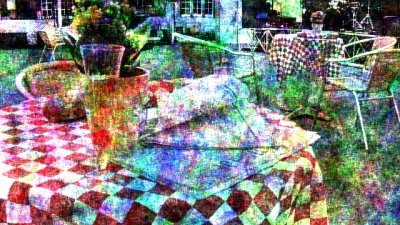 Using random walks in this way has some interesting side effects; a "momentum" effect has to be included to prevent the walks getting stuck in local minima. Without the momentum effect the random walk effectively acts as a low frequency Fourier filter... To get the above effect a momentum effect of 0.4 (a 0.4 chance of just continuing in the same direction) was used.
Software used:
Image creation: ImageJ
Video transcoding: VLC media player
Using random walks in this way has some interesting side effects; a "momentum" effect has to be included to prevent the walks getting stuck in local minima. Without the momentum effect the random walk effectively acts as a low frequency Fourier filter... To get the above effect a momentum effect of 0.4 (a 0.4 chance of just continuing in the same direction) was used.Software used:
Image creation: ImageJ
Video transcoding: VLC media player
A Little Random
So I'm feeling a little random today, so a little random walk of fun!
 This was made using ImageJ's powerful macro abilities; see the image's Wikipedia page for the macro used.
Software used:
Everything: ImageJ
 This was made using ImageJ's powerful macro abilities; see the image's Wikipedia page for the macro used.
Software used:
Everything: ImageJ
Sunday, 12 July 2009
Laser Diffraction
My most important point: lasers are awesome! There is a surprising amount of DIY geeky physics that you can do with a laser pointer and some bodged together diffraction slits and holes. Using two razor blades held a few tenths of a millimetre apart and a red and green laser pointer you can get some pretty good diffraction patterns.
 It even behaves as expected! The increase in wavelength gives a corresponding increase in fringe spacing.
Laser diffraction patterns are a perfect test ground for fourier transform analysis, the fourier transform of the diffraction pattern gives the shape of the diffraction slit used.
 This is the aperture I hacked together from a piece of 1mm aluminium and a drawing pin. The ruler markings are 1mm apart.
 The diffraction pattern encodes the information about the aperture shape in the positioning of the fringes. The roughly circular diffraction pattern shows that the aperture is approximately circular.

Calculating a 2D fourier transform of the diffraction pattern gives the above image, an accurate reconstruction of the shape of an aperture only a few tenths of a millimetre across.
Software used:
Fourier transforms: ImageJ
Image management: Paint.net
 Using two razor blades held a few tenths of a millimetre apart and a red and green laser pointer you can get some pretty good diffraction patterns.
 It even behaves as expected! The increase in wavelength gives a corresponding increase in fringe spacing.
Laser diffraction patterns are a perfect test ground for fourier transform analysis, the fourier transform of the diffraction pattern gives the shape of the diffraction slit used.
 This is the aperture I hacked together from a piece of 1mm aluminium and a drawing pin. The ruler markings are 1mm apart.
 The diffraction pattern encodes the information about the aperture shape in the positioning of the fringes. The roughly circular diffraction pattern shows that the aperture is approximately circular.
Calculating a 2D fourier transform of the diffraction pattern gives the above image, an accurate reconstruction of the shape of an aperture only a few tenths of a millimetre across.
Software used:
Fourier transforms: ImageJ
Image management: Paint.net
Wednesday, 8 July 2009
Paper Autofluorescence
 Microscopes are fun... Small things are cool! This is paper in all its fibrous glory; illuminated in ultraviolet paper autofluoresces at blue wavelengths and looks amazing! This was created from a 3x3 array of images, see the links below for higher resolutions:
6400x4800 at Wikipedia
Single screen wallpapers at Deviantart
Dual screen wallpapers at Deviantart
Software used:
The GIMP
Monday, 6 July 2009
Transparent Coke
Several people have had a hard time believing that coke is transparent in infrared, here's the proof that I am right! (You know what it's like; it was a hot day, I had a cold glass of coke with ice and happen to have an infrared webcam...)


I should have made a video of this, you get really nice refractive distortions (like heat haze) around the ice cubes as they melt...
Software used:
Webcam still image capture: Amcap (I can't find the official website!)


I should have made a video of this, you get really nice refractive distortions (like heat haze) around the ice cubes as they melt...
Software used:
Webcam still image capture: Amcap (I can't find the official website!)
Subscribe to:
Posts (Atom)